Get started with Genie Builder
Genie Builder is a VSCode extension that features a no-code, drag & drop builder to quickly develop UIs without having to write a single line of HTML or Javascript. This short guide will lead you through the essential steps in building your first app with Genie Builder.
Install Genie Builder
To install the extension, head over to the VSCode marketplace and search for "Genie Builder". After installing, restart VSCode to enable it.
Create a new app
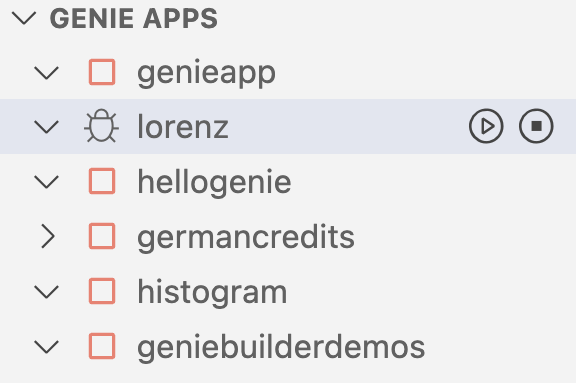
Click on the Start Server button to launch Genie Builder, and create an app by clicking on the plus (+) sign next to the GENIE APPS tab
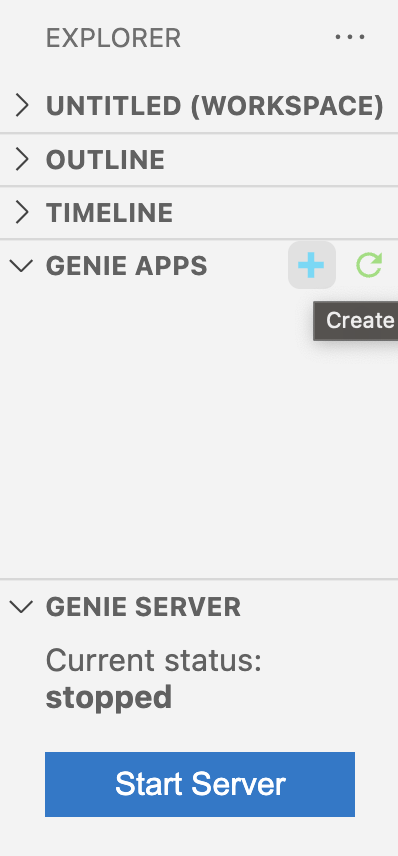
By default, a new app comes with two files:
app.jlwhere the logic resides, andapp.jl.htmlwhich defines the UI.
You'll manually edit app.jl and other files in the workspace, whereas app.jl.html can be edited via GC's no-code-editor.
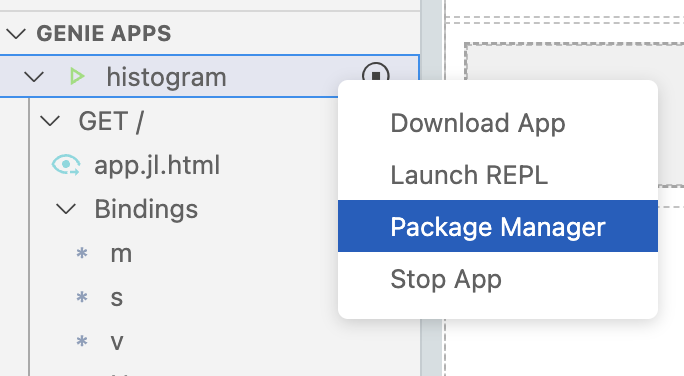
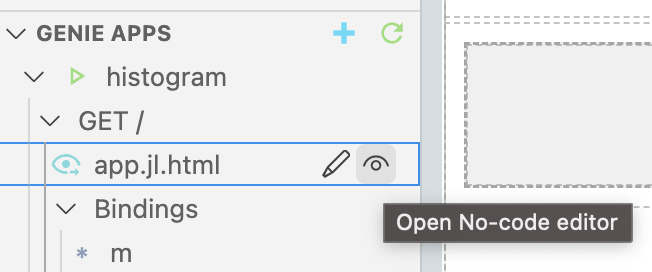
To preview an in-development app, click on the icon next to the GET tab. This will open a new tab with your app rendered.

Add your Julia code
The app.jl file comes with a basic skeleton for your app. The block delimited by the @app macro will hold the reactive code making the UI interactive. The @page macro defines a route, and the file that will be returned to the browser when this route is visited.
The first step is to install any packages you might need using the builtin package manager.
Then, you can add your Julia code directly in app.jl before the @app block.
module App
using StatsBase: mean, std, var
using GenieFramework
@genietools

function statistics(x)
  mean(x), std(x), var(x)
end

@app begin
    # reactive code goes here
end

@page("/", "app.jl.html")
endImplement the UI
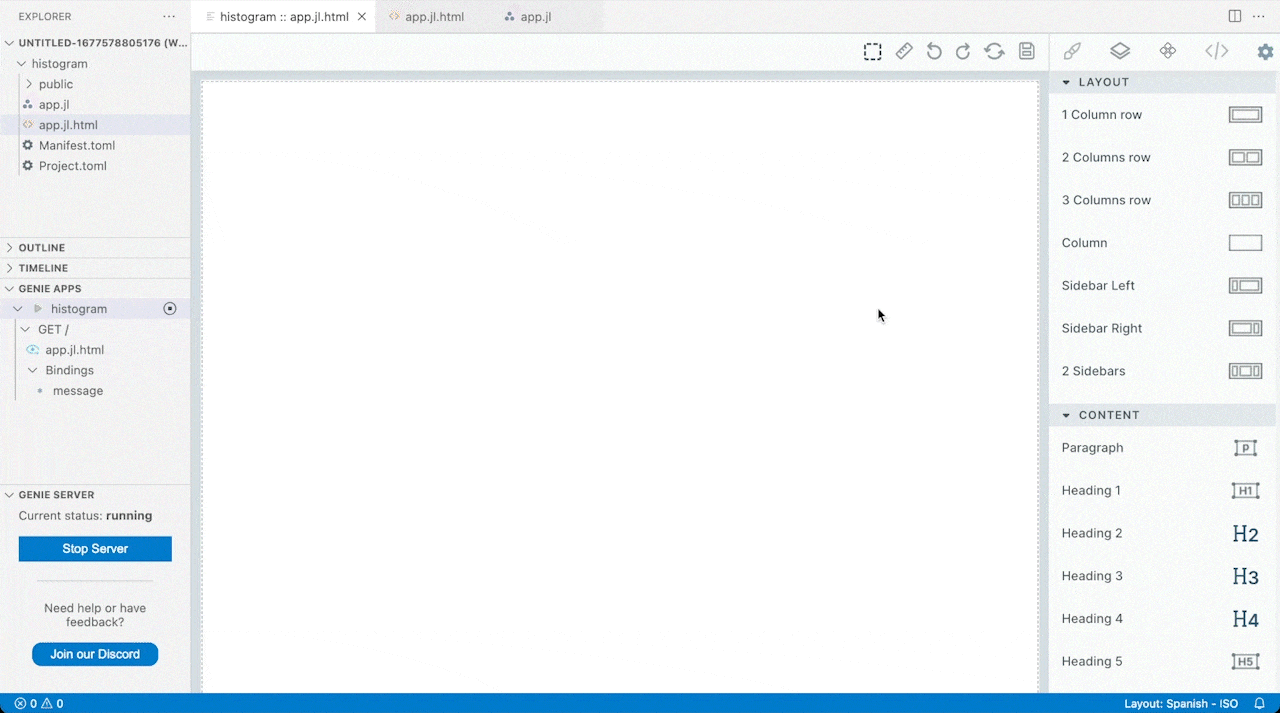
Launch the no-code editor by clicking on the eye icon in the left sidebar,
and start building the UI by dragging UI components onto the canvas.
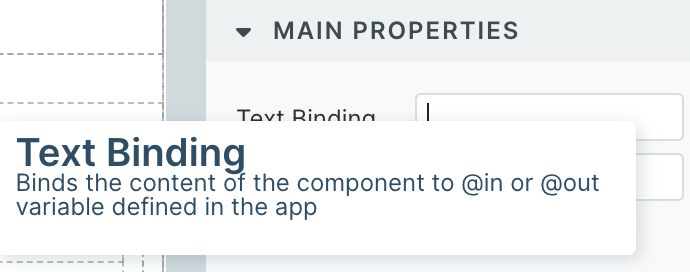
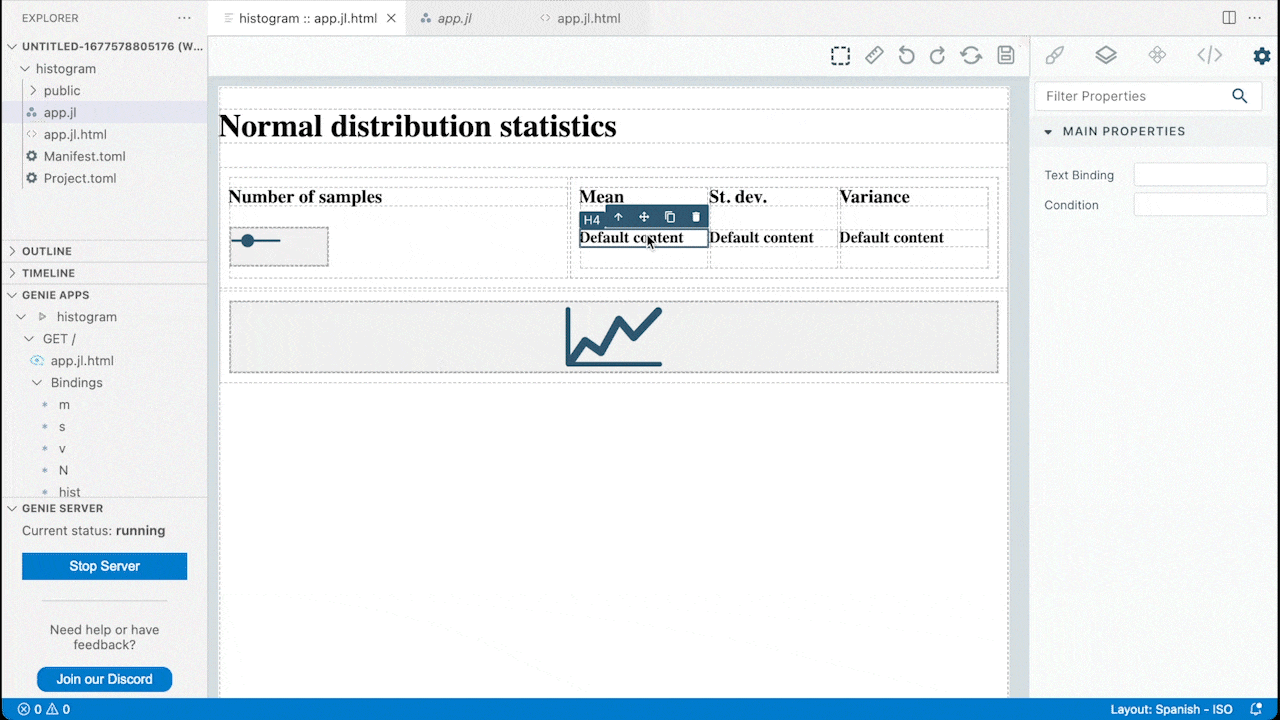
When you select a component in the canvas, its configuration options will open in the right sidebar. Here you can set the component's data bindings, and other properties to control its behavior.
Implement the app's logic
Interactive components such as drop-down selectors, sliders or text fields are bound to variables in the Julia code so that their state can be accessed and modified. You can bind a component to a variable in three steps:
- Check the binding fields of each component to find out which state variables it requires.
- Define the reactive variable in the Julia code, using the
@inmacro if the component stores its state to the variable, or@outif the component reads from it.
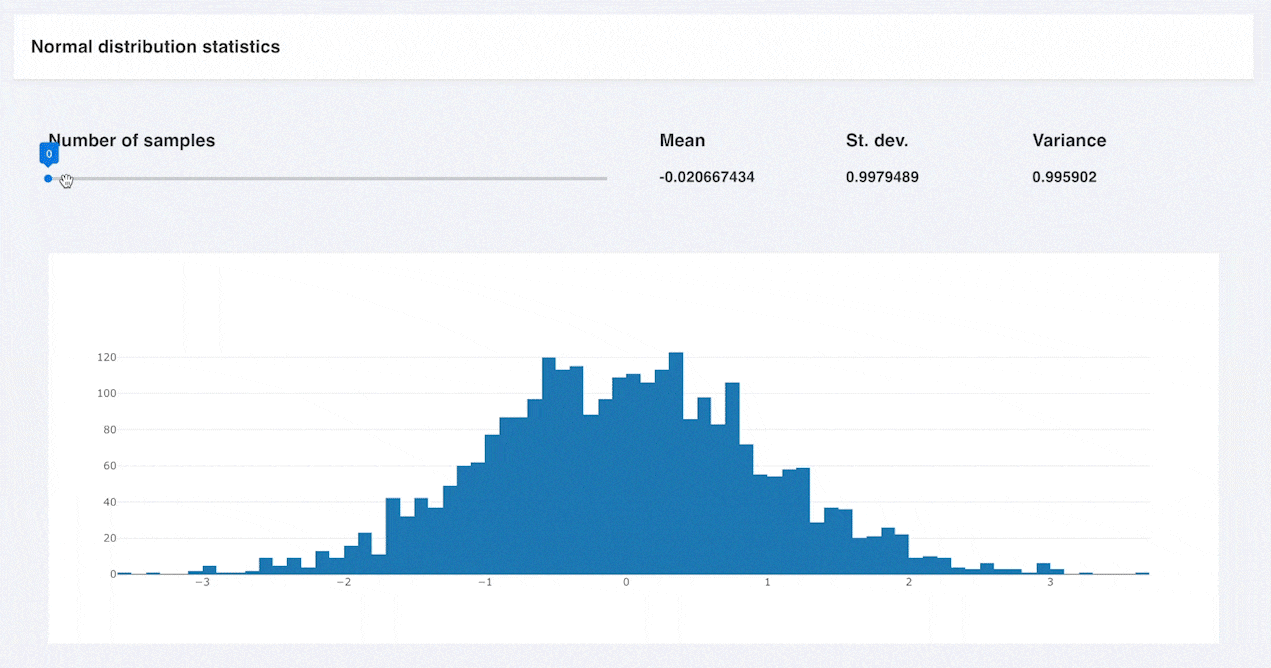
@app begin
  @in N = 0
  @out m::Float32 = 0.0
  @out s::Float32  = 0.0
  @out v::Float32  = 0.0
  @out hist = PlotData()
end- Attach each variable to a component via a binding field in the no-code editor.
Now it's time to add reactive code that executes when a state changes. This is done with the @onchange macro, which watches one or more variables and executes a block of code when their values change.
@app begin
  @onchange N begin
    x_rand = randn(N)
    m, s, v = statistics(x_rand)
    hist = PlotData(x=x_rand, plot=StipplePlotly.Charts.PLOT_TYPE_HISTOGRAM)
  end
end
end@in or @out can only be modified within a block delimited by the @onchange macro. Any changes made outside of it will not be reflected in the UI.With this, you'll have a working interactive app.
module App
using StatsBase: mean, std, var
using GenieFramework
@genietools

function statistics(x)
  mean(x), std(x), var(x)
end

@app begin
  @out m::Float32 = 0.0
  @out s::Float32  = 0.0
  @out v::Float32  = 0.0
  @in N = 0
  @out hist = PlotData()
  @onchange N begin
    x_rand = randn(N)
    m, s, v = statistics(x_rand)
    hist = PlotData(x=x_rand, plot=StipplePlotly.Charts.PLOT_TYPE_HISTOGRAM)
  end
end

@page("/", "app.jl.html")
endDebugging the app
Unlike typical Julia apps, Genie apps are not executed directly from the REPL. Instead, the App Manager controls the launching and stopping of apps from the App List. When an error in the code prevents an app from running, the App List displays a icon next to the app's name.
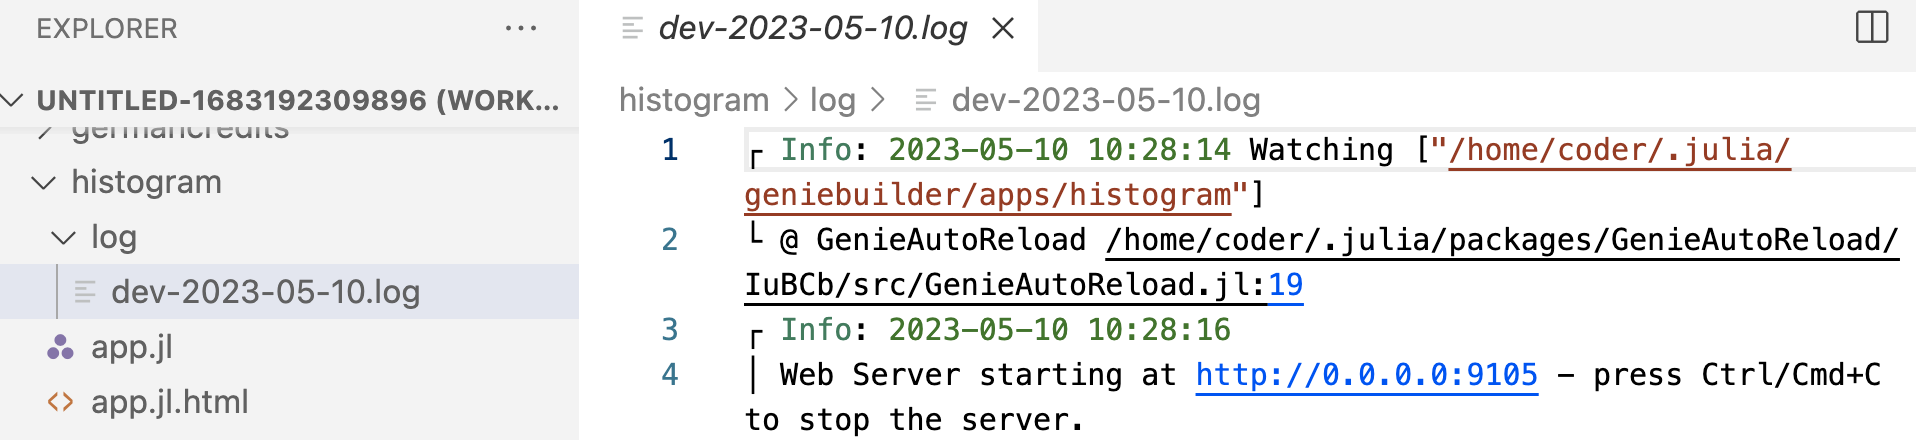
To determine the source of an error, you can examine the logs. These are automatically generated and can provide useful information about the operation of the app and any issues that may have occurred.
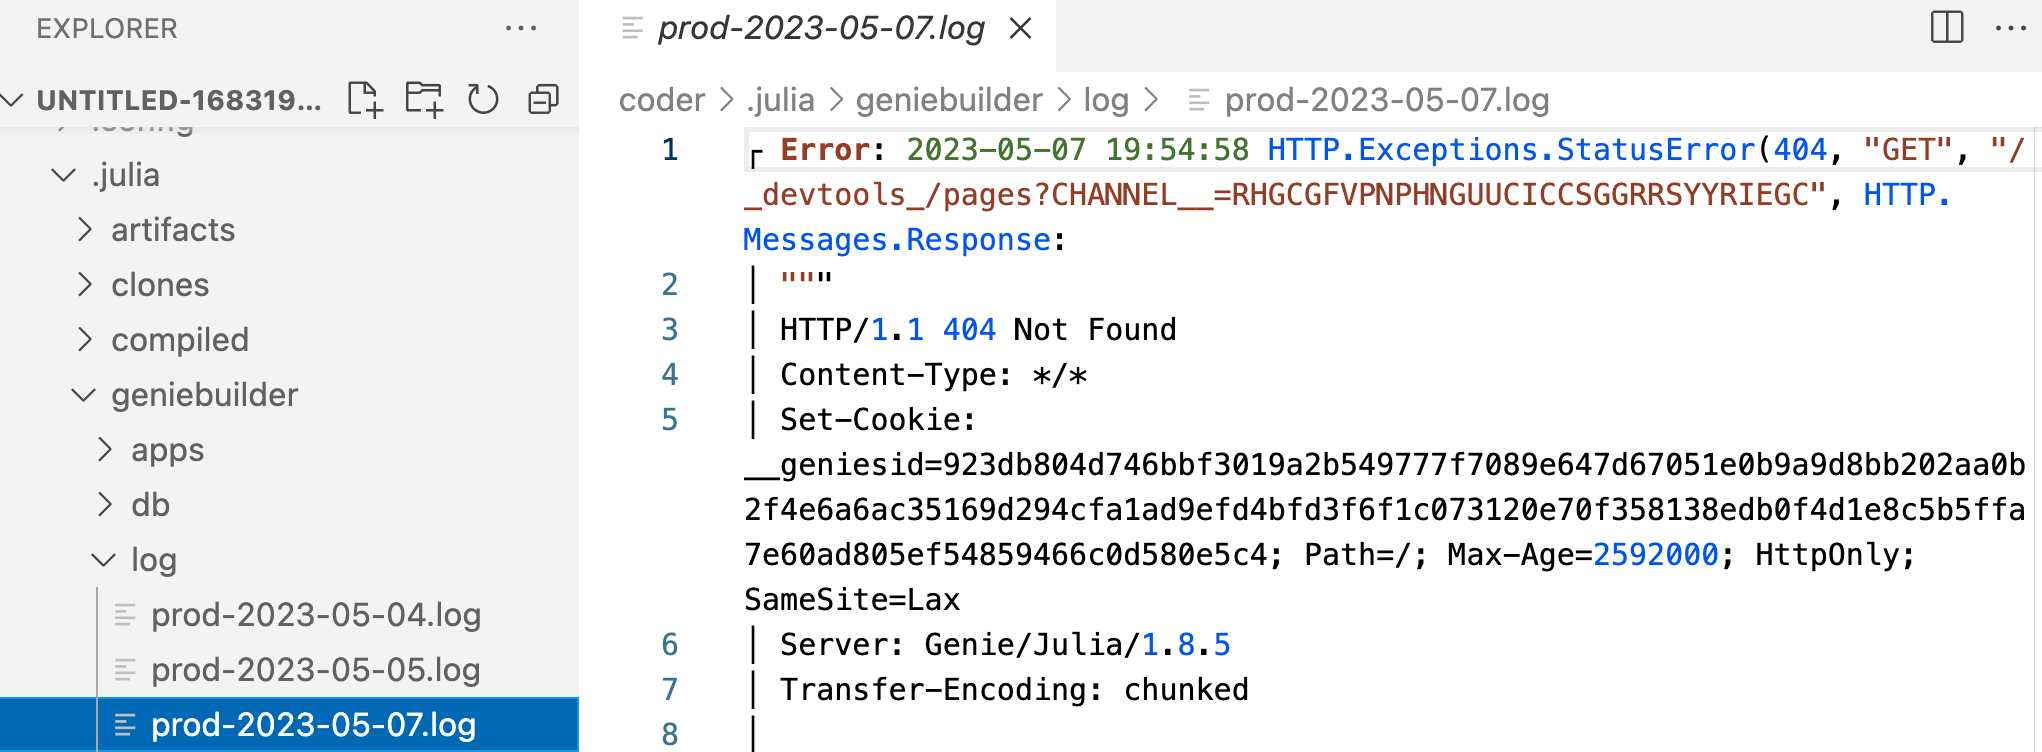
Reviewing app logs
Each app maintains its own log folder at app-name/logs/, generating a new log file each day.
The App Manager also keeps a log, which shows the output from the Julia REPL during the execution of an app. You can find it at coder/.julia/geniebuilder/log/.